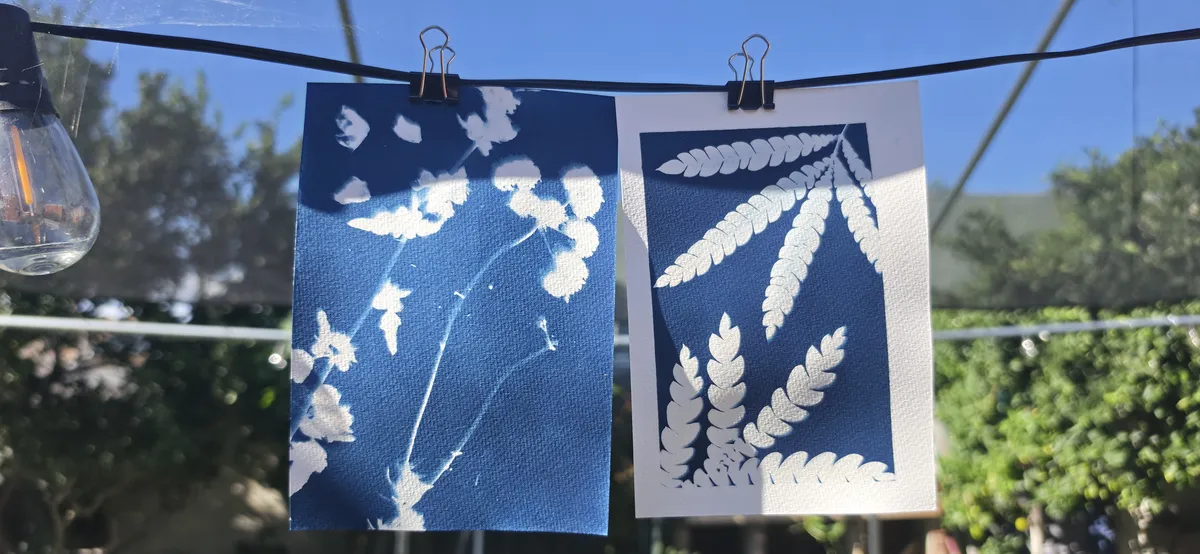
My Blue Period: An Intro to Cyanotypes
I've always claimed not to be an artsy person for the better part of my life. In school, I was the kid who dreaded any kind of creative activity. I blame my oddly weak and shaky wrists that prevent me from drawing anything neatly. As of late, I've been tapping into various methods to tap into my creative side. Projects like creating parody stickers, making zines, and stamp carving are all scattered throughout my nonexistent art portfolio. My current artistic venture is the art of printmaking with cyanotypes. Artists create cyanotypes by treating paper or fabric with a special chemical mixture. This mixture reacts to ultraviolet rays, turning the yellow-green chemical a deep blue. Originally used as a method to develop film, I've been using it to create photograms of plants!
The process of creating a cyanotype is straightforward, yet as I kept making more prints, the more notes I jotted down on how to improve. Here are a couple of notes I wrote for myself:
- Press your plants! Flatter plants are easier to work with during the posing process. Leaves are easier to work with, as they are usually pretty flat to begin with. Leaves with any curvature are usually still pretty recognizable. Flowers have more depth to them and are much more complex than leaves, so pressing is a must. I use two pieces of cardboard to flatten plants and a book to weigh them down. Put your plant material between the cardboard and weigh it down. Simple! It takes a bit for them to flatten, it's ready for use when it doesn't try to bounce back to its original shape.
- In a similar vein, dry plants should be used as well. Flattening them with cardboard helps with drying along with flattening. Using fresh plants makes posing difficult as they'll try to snap back to their original shape. It also allows for unwanted water and pollen to spread across the paper.
- Plant material from leaf litter should be avoided. Although leaves from litter are dry, if they're not flat then they will likely break during the glass pressing step. They are also harder to pose, moving parts of a brittle leaf will cause parts of it to snap off. See the developed print in the photo below, the print on the right used a stiff, non-posable leaf collected from leaf litter, leading to it being unrecognizable when developed.
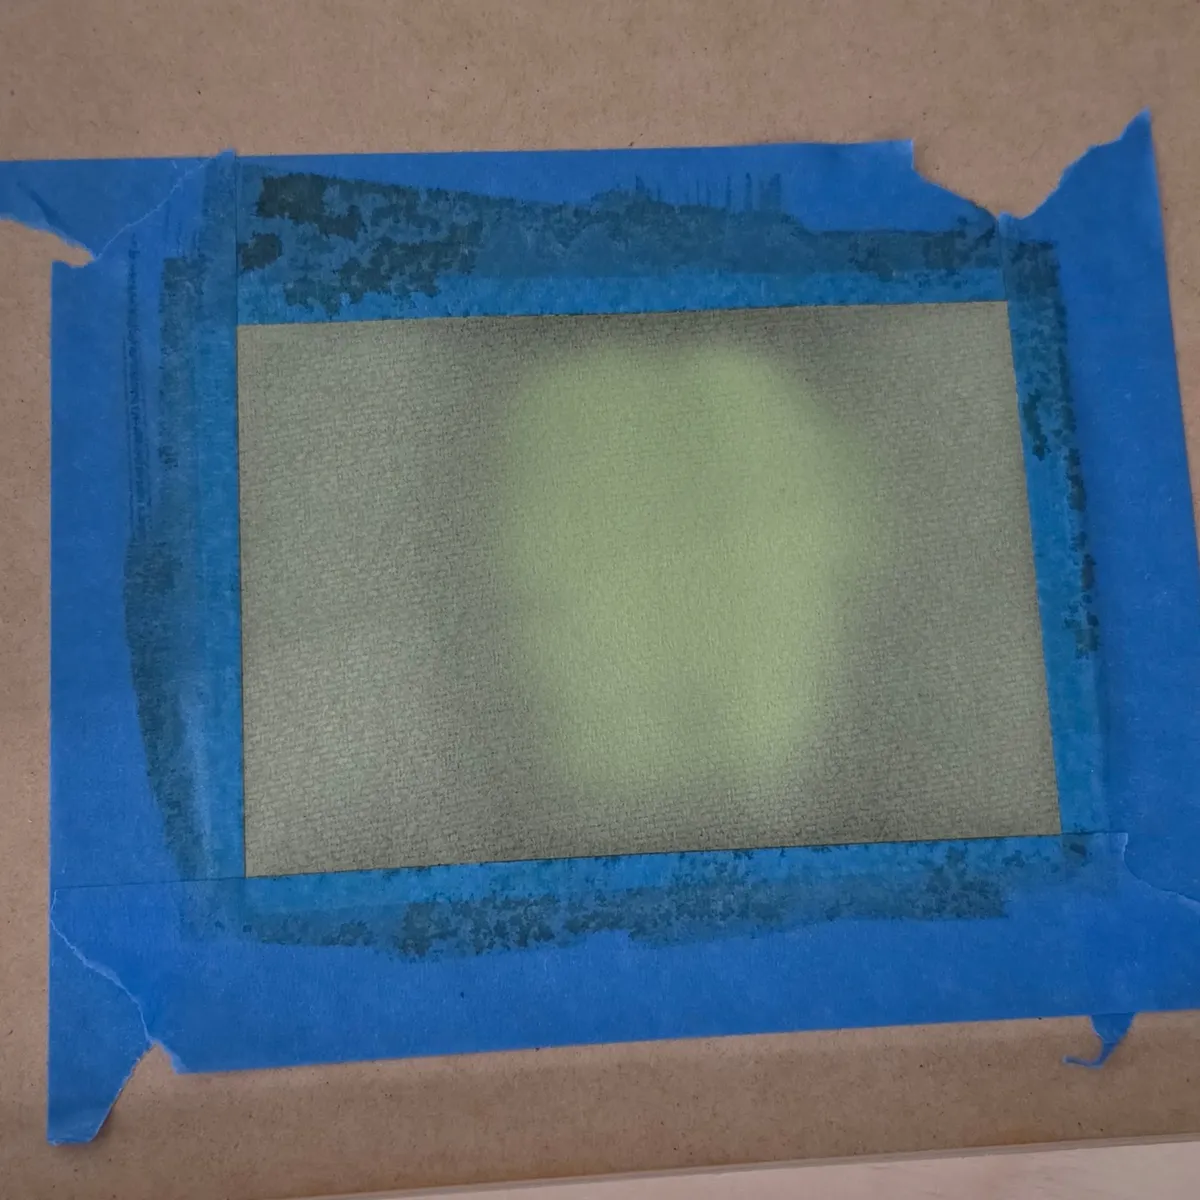
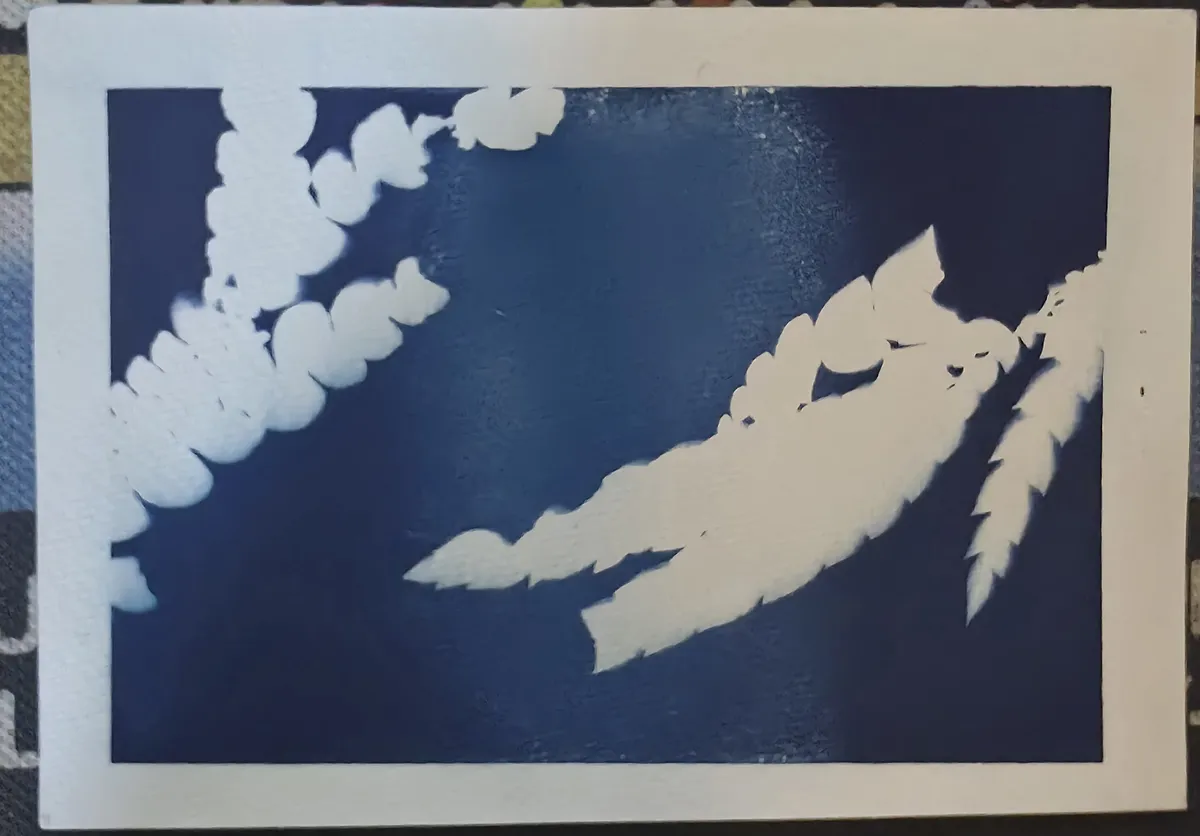
- When applying the solution to paper, sometimes the paper I use starts to warp due to the liquid. In that case, I use a second sponge brush to soak up any excess liquid. The developed print could come out colored unevenly if the solution pools up. See the two photos below, photo on the left is before, right is after.
- I've been posing the plants akin to herbarium specimens. Since I've been working with California native plants, CCH2 has been my go-to for arranging inspiration.
I'm only getting started with learning this process, there will be plenty more to learn. I've been giving away the test presents to fellow plant nerds. I've even been haggling trades with them, prints for leaf material. Sounds fair, right? Diving into Julian Sandro's "Cyanotype" video playlist is a great starting point for learning the process. With autumn rolling in, I'm planning on dyeing prints with tannin sourced from oaks! Excited to report back with the mistakes I make along the way. Slowly but surely, I always say.